Designing high-quality patches requires careful attention to both artwork and detailing. Whether it’s for a brand, a sports team, or a personal project, a well-designed patch not only looks great but also communicates its message effectively. The key is in balancing creative design with practical considerations, ensuring that the final product is visually appealing, durable, and appropriate for its intended use. Here are essential tips for creating high-quality patches that stand out.
1. Focus on Simplicity in Design
When designing patches, simplicity is often more effective. Patches are typically small, and intricate details can become lost during the manufacturing process, especially for embroidered or woven patches. Bold lines, clear shapes, and simple color schemes translate better into physical form. Too many fine details can make the design appear cluttered or indistinct once it’s embroidered, woven, or printed.
Designs with clean lines, strong contrasts, and defined elements will stand out more. It’s crucial to remember that patches aren’t like digital designs, where minute details can be fully captured. The stitching or printing process may alter finer details, so start with a clear and uncomplicated design for the best results.
Choosing the right materials and embroidery techniques is essential for producing high-quality patches. Different materials can impact the final look of the design. Chenille, for example, is perfect for a textured, vintage effect, while finely stitched embroidery offers precision and durability. Thread selection plays a key role in bringing out the color and detail of the artwork.
High-quality, colorfast threads ensure that the patch will remain vibrant over time, even after exposure to the elements or repeated washing. Additionally, various embroidery techniques such as 3D puff embroidery or appliqué can add dimension and texture to the patch, enhancing its overall aesthetic. It’s important to communicate with the patch manufacturer to select the best materials and methods for achieving the desired result.
2. Use the Right Colors
Color is a key aspect of patch design. Designing high-quality patches use well-chosen colors that are vibrant, harmonious, and relevant to the design’s theme. When designing your patch, ensure that the color palette complements the artwork and contrasts appropriately with the background. You can experiment with different shades, but keep in mind that fewer colors often result in a cleaner, more professional look.
Also, be mindful of how certain colors will look when embroidered or printed. Some colors may not appear as vibrant in thread form as they do digitally. It’s helpful to ask your patch manufacturer for a color chart or thread swatches to ensure the final product matches your expectations.
3. Choose the Right Size and Proportion
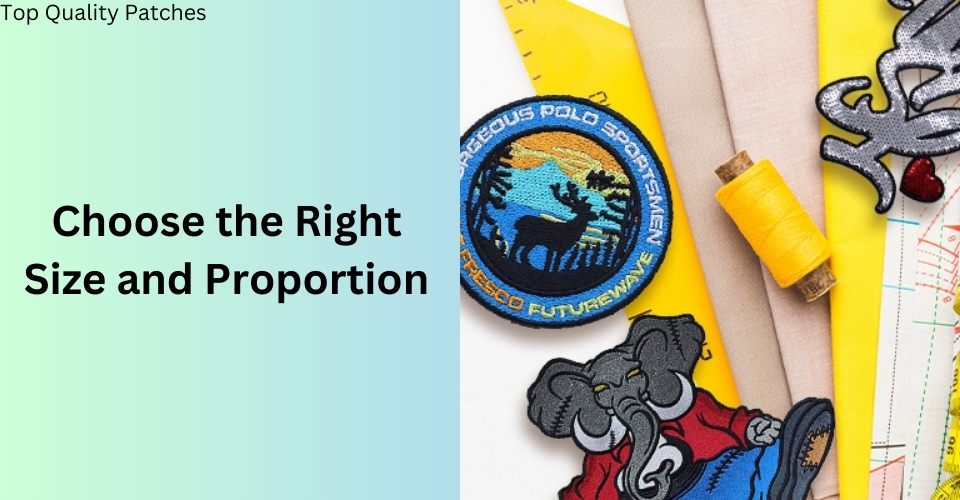
The size of the patch plays a crucial role in the design process. Larger patches offer more room for intricate details, but if the patch is small, you’ll need to simplify the design to ensure clarity. Always consider the final size when working on artwork—what looks good on a screen at 100% zoom may not translate well into a 3-inch patch.
Proportions are equally important. Elements like text, logos, and icons should be balanced within the design so that no one part overwhelms the rest. Make sure any text is large enough to be legible, and use fonts that maintain clarity when scaled down.
Designing high-quality patches requires a keen attention to detail, starting with the artwork itself. The first and most important step in creating a patch is ensuring that the design is clean, simple, and visually impactful. Intricate or overly complicated designs can get lost when translated into the medium of embroidery or woven fabrics, where fine details may become indistinguishable.
It’s best to focus on bold lines, clear shapes, and well-defined elements. This is especially important because patches are often viewed from a distance, meaning clarity is key. Ensuring your design has strong contrasts between elements, such as distinct outlines or color blocks, will enhance its visual appeal and ensure that it stands out, regardless of where it’s applied.
4. Consider the Type of Patch
The type of patch—embroidered, woven, PVC, or heat transfer—will impact the design. For embroidered patches, bold designs with thicker lines work best, as the stitching may not capture small details accurately. Woven patches, on the other hand, can handle finer details due to the tighter weave of the threads. PVC patches allow for even more detail and are great for designs that require a three-dimensional look.
Before finalizing your design, consult with your manufacturer to understand the limitations and possibilities of your chosen patch type.
5. Optimize for Embroidery or Printing
If your patch will be embroidered, remember that different types of stitches can add texture and depth to your design. For example, satin stitches are ideal for borders and letters, while fill stitches work best for larger areas. For printed or PVC patches, focus more on the color and resolution since the material will allow for a more precise reproduction of your design.
Ensure that any small text or intricate elements are designed in a way that works for your chosen production method. It’s essential to provide the manufacturer with vector files for the best results, as these can be scaled without losing quality.
Another crucial aspect of patch design is selecting the right size and shape for the intended purpose. The size of the patch determines how much detail can be incorporated without compromising quality. For smaller patches, simplicity is critical, as there is less surface area to work with. Larger patches allow for more detailing, but you still need to balance aesthetics with readability.
Patch shape is also important; standard shapes like circles, squares, and shields are versatile and work well with most designs. However, custom shapes that follow the contours of the design itself can add a unique flair. Always consider where the patch will be applied—whether on a jacket, hat, or bag—and ensure the shape and size complement the intended placement.
6. Add a Border
Borders not only give your patch a finished look but also protect the edges from fraying. When designing your patch, include a solid border that frames the artwork. Merrowed edges are commonly used for round or oval patches, while a heat-cut border works well for custom shapes. Choose a border color that complements the design but contrasts enough to make the patch stand out against the background it will be applied to.
Finally, attention to finishing touches and detailing will elevate the overall quality of the patch. Clean, well-executed borders are vital for a polished look, whether you opt for a merrowed edge or a heat-cut border. These borders not only enhance the visual appeal but also prevent fraying, ensuring the patch maintains its shape and durability over time. Adding features like metallic threads, glow-in-the-dark accents, or specialty backings such as Velcro or iron-on adhesive can give the patch additional functionality and flair. Ultimately, designing a high-quality patch requires a combination of thoughtful artwork, material selection, and attention to detail, ensuring that the final product is both visually striking and long-lasting.
Designing high-quality patches requires a balance between creativity and practicality. By focusing on simplicity, using the right colors, optimizing size, and choosing the appropriate patch type, you can ensure that your design looks great when translated into its final form. Always consider the limitations and strengths of the production method, and don’t hesitate to consult with your manufacturer for advice on perfecting your design. With these tips in mind, you’ll be well on your way to creating standout patches that are both visually striking and durable.