
Leather garments and accessories have long been a symbol of sophistication and durability. In recent years, the trend of customizing leather items has exploded, allowing individuals to express their personal style in unique and creative ways. One popular method is to embellish leather with decorative patches. However, a common question arises: can you iron on patches to leather?
Understanding Leather and Its Characteristics
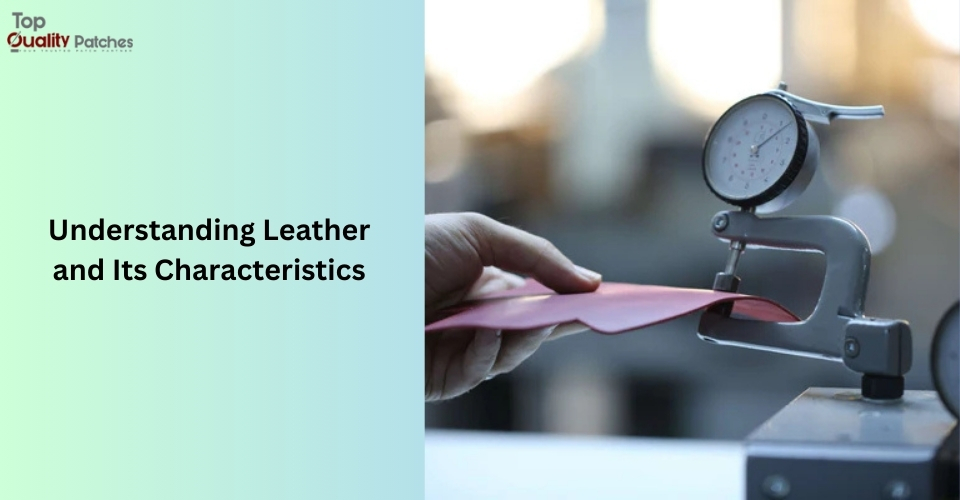
Leather is a natural material prized for its strength, flexibility, and unique texture. It can vary greatly in quality and finish, from smooth, refined hides to more rugged, distressed textures. Because of these variations, working with leather requires special care and consideration—especially when adding embellishments.
The Importance of Leather Type
Before you embark on your customization project, it’s essential to determine the type of leather you’re working with. Full-grain leather, for example, is known for its durability and natural markings, while corrected-grain leather may have been buffed to remove imperfections. Each type reacts differently to heat and adhesives, which can affect the success of any patch application. It’s wise to test a small, inconspicuous area first to see how the leather responds.
Surface Preparation
Proper preparation is the foundation of any successful customization project. For leather, this means cleaning the surface thoroughly to remove oils, dirt, and any protective coatings that might interfere with patch adhesion. Use a soft cloth and a leather cleaner designed specifically for your material type. Allow the leather to dry completely before moving forward, ensuring that your patches will have a clean, receptive surface.
Methods for Applying Patches to Leather
There are several techniques you can use to apply patches to leather. Each method has its own advantages and drawbacks, depending on your desired outcome and the tools available.
Sewing or Stitching
Sewing patches onto leather is a tried-and-true method that offers durability and a high-end finish. While it requires some skill and the right needle, stitching allows you to secure the patch firmly without risking heat damage. It also offers a distinctive aesthetic that many find appealing on leather items.
Adhesive Methods
Adhesives specially formulated for leather are another reliable option. These products are designed to bond with the natural oils in leather and create a long-lasting hold without the need for sewing. When using adhesives, be sure to follow the manufacturer’s instructions carefully. A well-applied adhesive can give your patch a seamless look, though it may not have the same tactile appeal as a stitched patch.
Controlled Heat Application
For those curious about using heat, some crafters attempt to apply patches by carefully controlling the temperature and duration of contact. In our experience, it is possible to use a heat method—but only if you use a low-temperature setting and a heat-protective barrier between the iron and the leather. For example, place a thin piece of cotton fabric over the patch and leather before applying the heat. This extra layer helps distribute the heat more evenly and protects the leather from direct contact. When using this method, it is essential to perform a test on a hidden area first. Remember, if you choose to proceed with this technique, exercise extreme caution to avoid any irreversible damage.
Step-by-Step Guide to Applying Patches on Leather

Now that we’ve discussed the different methods, let’s dive into a step-by-step guide on how to apply a patch to leather using the controlled heat method, along with alternative techniques.
Step 1: Gather Your Materials
Before you begin, assemble all necessary materials:
- Your leather item (jacket, bag, etc.)
- The patch you wish to apply
- A heat-protective barrier (a thin cotton cloth works well)
- A household iron with adjustable temperature settings
- Adhesive designed for leather (if you choose to combine methods)
- A pair of scissors
- A clean, flat working surface
Step 2: Prepare the Leather
Clean the leather thoroughly using a suitable leather cleaner. Allow it to dry completely, then lightly buff the area where the patch will be applied. This preparation ensures optimal adhesion, regardless of the method you choose.
Step 3: Test the Method on a Hidden Area
Before applying the patch to a visible area, test your chosen method on a small, inconspicuous section of the leather. This step is crucial if you are considering a heat application, as it allows you to gauge the leather’s reaction without risking the final appearance.
Step 4: Apply the Patch
If you’re using a heat method, position the patch on the leather, cover it with the protective cotton cloth, and set your iron to a low heat setting. Press gently for a few seconds, then check the adhesion. If necessary, repeat the process, but avoid prolonged exposure to heat. Alternatively, if using an adhesive, apply a thin layer to the back of the patch, press it onto the leather, and allow it to cure as per the manufacturer’s instructions.
Step 5: Secure and Inspect
After the patch is applied, inspect the area carefully. If you used a heat method, allow the leather to cool completely before handling further. Ensure that the edges of the patch are securely attached and that the leather shows no signs of damage. If stitching was involved, check that the stitches are even and reinforce the patch’s attachment.
Frequently Asked Questions
Can I Use Any Iron on Patches on Leather?
Not all patches are created equal. It’s important to choose patches specifically designed for use on leather. While some iron on patches might work on fabric, leather requires a more controlled approach due to its sensitivity to heat and moisture. Always refer to the manufacturer’s recommendations before proceeding.
How Do I Clean Customized Leather?
Once your patch is successfully applied, care for your customized leather by using gentle cleaning methods. Avoid harsh chemicals and opt for a leather-specific cleaner. Regular conditioning can also help maintain flexibility and prevent cracking over time.
What If the Patch Doesn’t Stick Properly?
If you find that your patch is not adhering as expected, gently remove it and try reapplying using a different method or additional adhesive. Sometimes, a combination of methods (such as a light adhesive application followed by controlled heat) can improve the bond.
Customizing leather with patches opens up a world of creative possibilities. By carefully considering the unique challenges of leather and selecting the right materials and methods, you can create stunning, personalized items that truly reflect your style. Although the idea of using heat on leather might seem daunting, with the proper precautions and a careful approach, it is indeed possible to achieve a professional finish. In this guide, we have explored various techniques and provided step-by-step instructions to help you decide if a heat method is right for your project.


