
A leather patch trucker hat is a stylish and durable accessory that combines the ruggedness of leather with the practicality and comfort of a trucker hat. These hats have become increasingly popular for their unique look and customization potential.
Whether you’re a business owner looking to create branded hats for your team or an individual wanting a personalized design, making your own leather trucker hat is a rewarding project. In this article, we’ll guide you through the process of creating a custom leather trucker hat in 5 simple steps.
Step 1: Gather the Materials
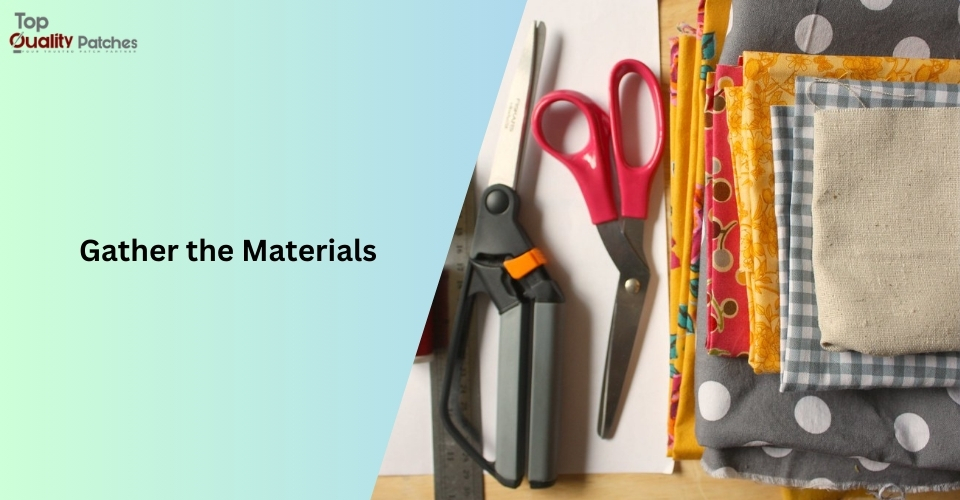
Before you start, it’s important to gather all the necessary materials to make a leather trucker hat. Here’s what you’ll need:
Materials for the Hat:
- Trucker Hat Blank: You can find basic trucker hat blanks online or at craft stores. These usually consist of a foam front panel and a mesh back, with an adjustable snap or strap.
- Leather Patch: You’ll need a piece of leather suitable for patchwork. Vegetable-tanned leather is a great choice as it’s easy to work with and will age beautifully over time.
- Fabric Adhesive or Industrial Glue: This is used to adhere the leather patch to the hat.
- Needle and Thread: For stitching the leather patch onto the hat if you prefer a more durable attachment.
- Leather Dye or Paint (optional): If you want to add color to the leather patch or personalize it further.
- Cutting Tools: A sharp utility knife or leather scissors for cutting the leather to size.
- Stencil or Template (optional): If you have a specific design in mind, a stencil or template can help you cut the leather patch accurately.
Additional Tools:
- Ruler: For precise measurements.
- Pencil or Fabric Marker: For marking cutting lines on the leather.
- Hole Puncher (optional): To create small holes in the leather for stitching.
Step 2: Design the Leather Patch
The first creative step in making a leather trucker hat is designing the patch itself. The patch is the focal point of the hat, so your design will play a significant role in its overall aesthetic. Here’s how to create a custom leather patch design:
1. Decide on the Style
Consider the style and look you want to achieve. Do you want something minimalist, like a simple logo, or do you prefer an intricate design with text or imagery? The design should reflect your personal style or the branding of your business.
2. Choose the Shape
Leather patches can be cut into various shapes, such as rectangles, circles, ovals, or even custom shapes that match the logo or artwork. Use a ruler and pencil to sketch the desired shape on the leather before cutting it out.
3. Personalize the Design
Add any elements you want on the leather patch, such as initials, a logo, a graphic, or a catchphrase. You can either freehand the design or use a stencil to make sure the shapes are clean and precise.
4. Dye or Paint the Leather (Optional)
If you want to give the leather patch color, now is the time to dye or paint it. Use leather dye for a subtle, natural look, or apply leather paint for brighter, more vibrant colors. Let the dye or paint dry completely before moving on to the next step.
Step 3: Cut the Leather Patch
Now that your design is ready, it’s time to cut the leather patch to fit the trucker hat. Here’s how to do it:
1. Measure and Mark
Use a ruler to measure the dimensions of the area where the leather patch will be attached on the front of the trucker hat. Keep in mind that the patch should not be too large or too small compared to the size of the hat’s foam front panel. Mark the dimensions on the back of the leather using a pencil or fabric marker.
2. Cut the Leather
Carefully cut along the marked lines using a sharp utility knife or leather scissors. Leather can be tough, so make sure your cutting tool is sharp for clean, straight edges. If you’re cutting intricate designs, a craft knife or rotary cutter might be helpful for precision.
3. Smooth the Edges (Optional)
If desired, use a leather edge tool to smooth and round the edges of the leather patch. This gives the patch a more polished and professional look, making it stand out when attached to the hat.
Step 4: Attach the Leather Patch to the Hat
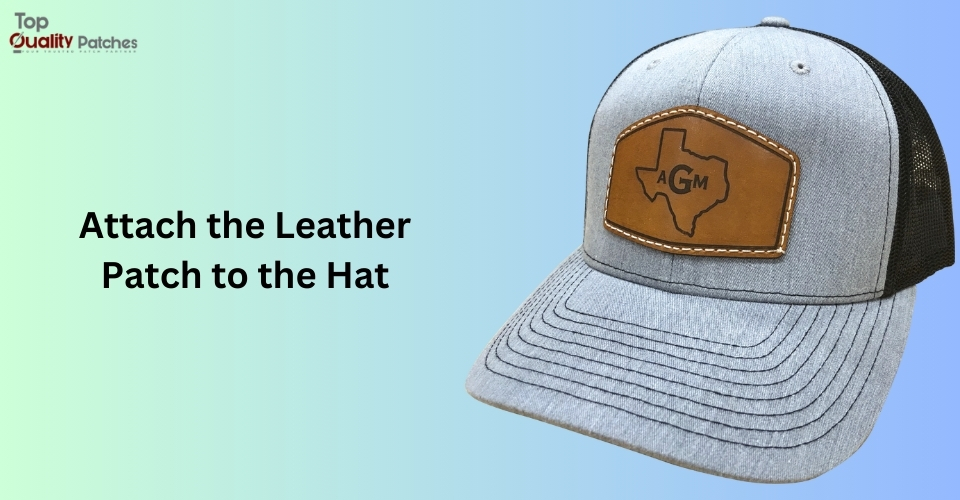
Once the leather patch is ready, it’s time to attach it to the trucker hat. There are two main ways to do this: gluing or stitching. Choose the method that best suits your needs.
Option 1: Gluing
- Apply a generous amount of fabric adhesive or industrial glue to the back of the leather patch. Be sure to cover the entire surface evenly, especially around the edges.
- Press the patch firmly onto the front foam panel of the trucker hat.
- Hold the patch in place for a few minutes to ensure it adheres properly. If necessary, you can place a weight or cloth over the patch and let it dry for a few hours.
Option 2: Stitching
If you prefer a more secure attachment, you can stitch the leather patch onto the hat. This will also give it a more handcrafted look. Here’s how:
- Use a needle and strong nylon thread or leather cord.
- Thread the needle and start stitching along the edges of the leather patch, making small, even stitches for a clean look.
- Tie a knot at the end of the thread once you have completed stitching the patch all the way around.
Step 5: Final Touches and Adjustments
Once your leather patch is securely attached to the hat, it’s time to add the final touches.
1. Inspect the Attachment
Make sure the patch is firmly attached and there are no loose edges. If you used glue, check for any excess glue around the edges and wipe it off carefully. If you stitched the patch, ensure that the stitching is even and secure.
2. Clean the Hat
Wipe the trucker hat with a damp cloth to remove any dust or marks from the crafting process. If you’ve used paint or dye on the leather, ensure it’s completely dry before touching it.
3. Adjust the Fit
Lastly, adjust the fit of the trucker hat to ensure comfort. Most trucker hats come with an adjustable snapback or strap, so make sure it fits snugly on your head or the head of the person who will be wearing it.
Conclusion: A Stylish, Custom Leather Trucker Hat
Creating a leather patch trucker hat is a fun and rewarding DIY project that allows you to express your creativity while making a practical, stylish accessory. By following these 5 simple steps—gathering materials, designing the patch, cutting it out, attaching it to the hat, and adding final touches—you can easily craft a unique and personalized trucker hat that’s perfect for everyday wear or as a promotional item for your brand. With a little time and effort, you’ll have a one-of-a-kind accessory that’s both functional and fashionable.


